


EAF Mounting Bracket for SV238 OAG
Original price was: $45.00.$29.95Current price is: $29.95.
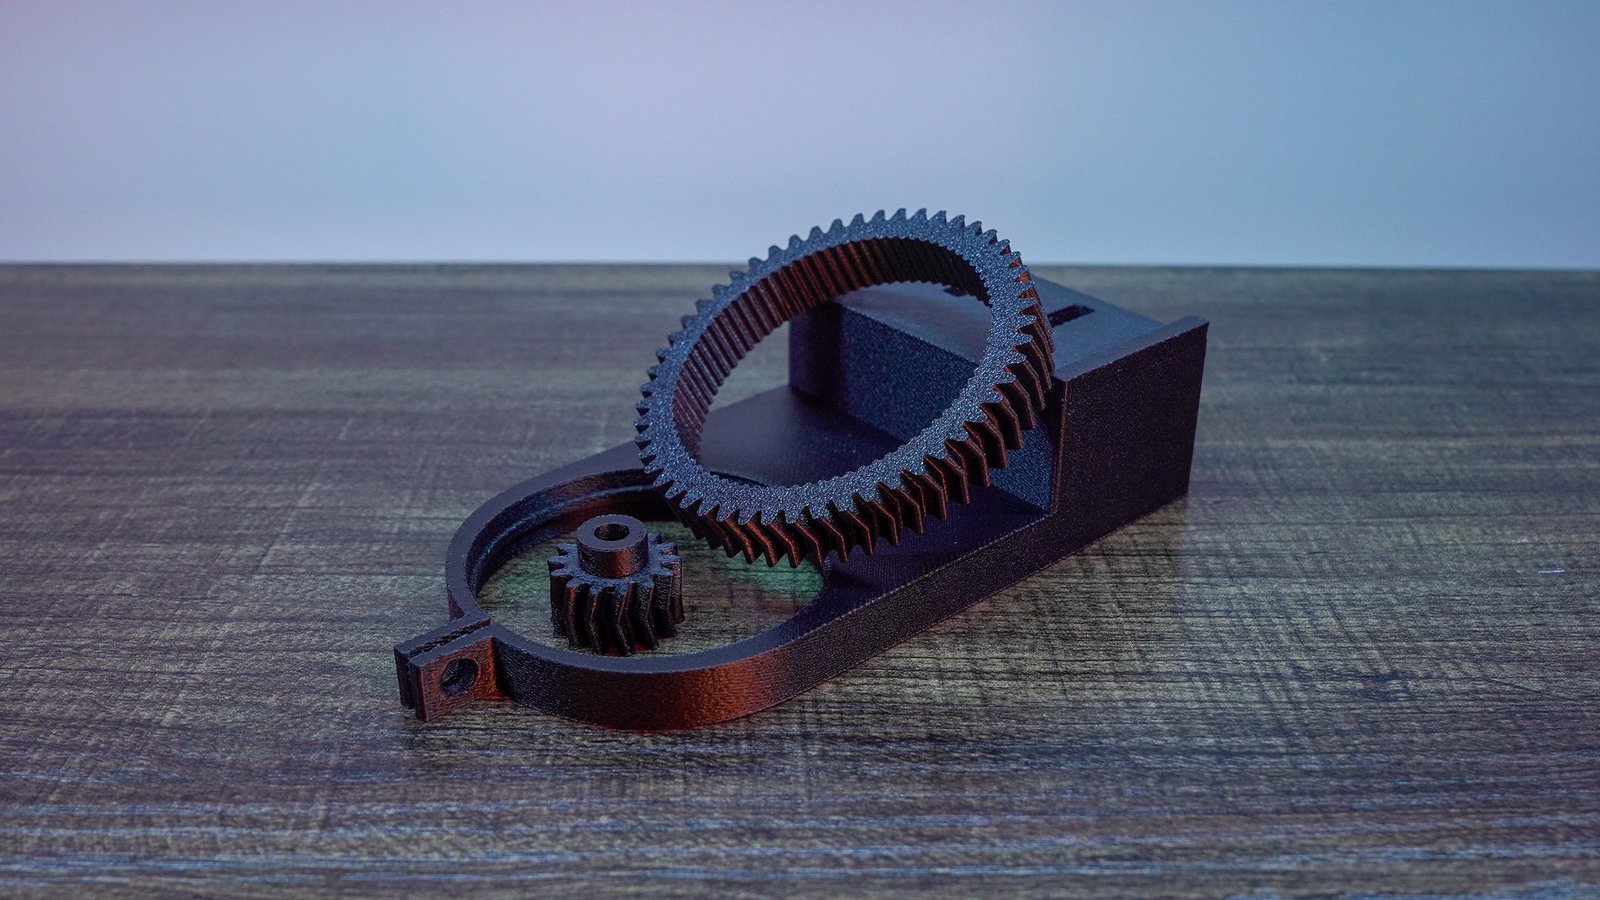
A custom-designed mounting bracket, allowing seamless integration of Gemini Electronic Auto Focuser with SvBony SV238 OAG. This bracket turns your manual helical focuser into a motorized one.
In stock (can be backordered)
Description
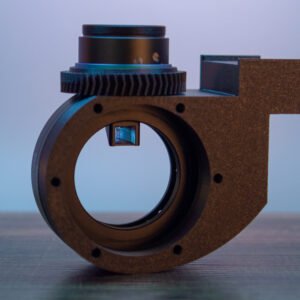
Upgrade your SvBony SV238 Off-Axis Guider (OAG) with this custom-designed EAF Mounting Bracket for SV238 OAG, allowing seamless integration of Gemini Electronic Auto Focuser (not included in the packaging; has to be purchased separately) for remote and automated focusing. Perfect for astrophotographers who want to eliminate manual adjustments, especially in remote setups where focus shifts from non-parfocal filters (or other reasons) can be a hassle. This bracket turns your manual helical focuser into a motorized one, improving guiding accuracy by ensuring stars remain sharply focused.
Key Features:
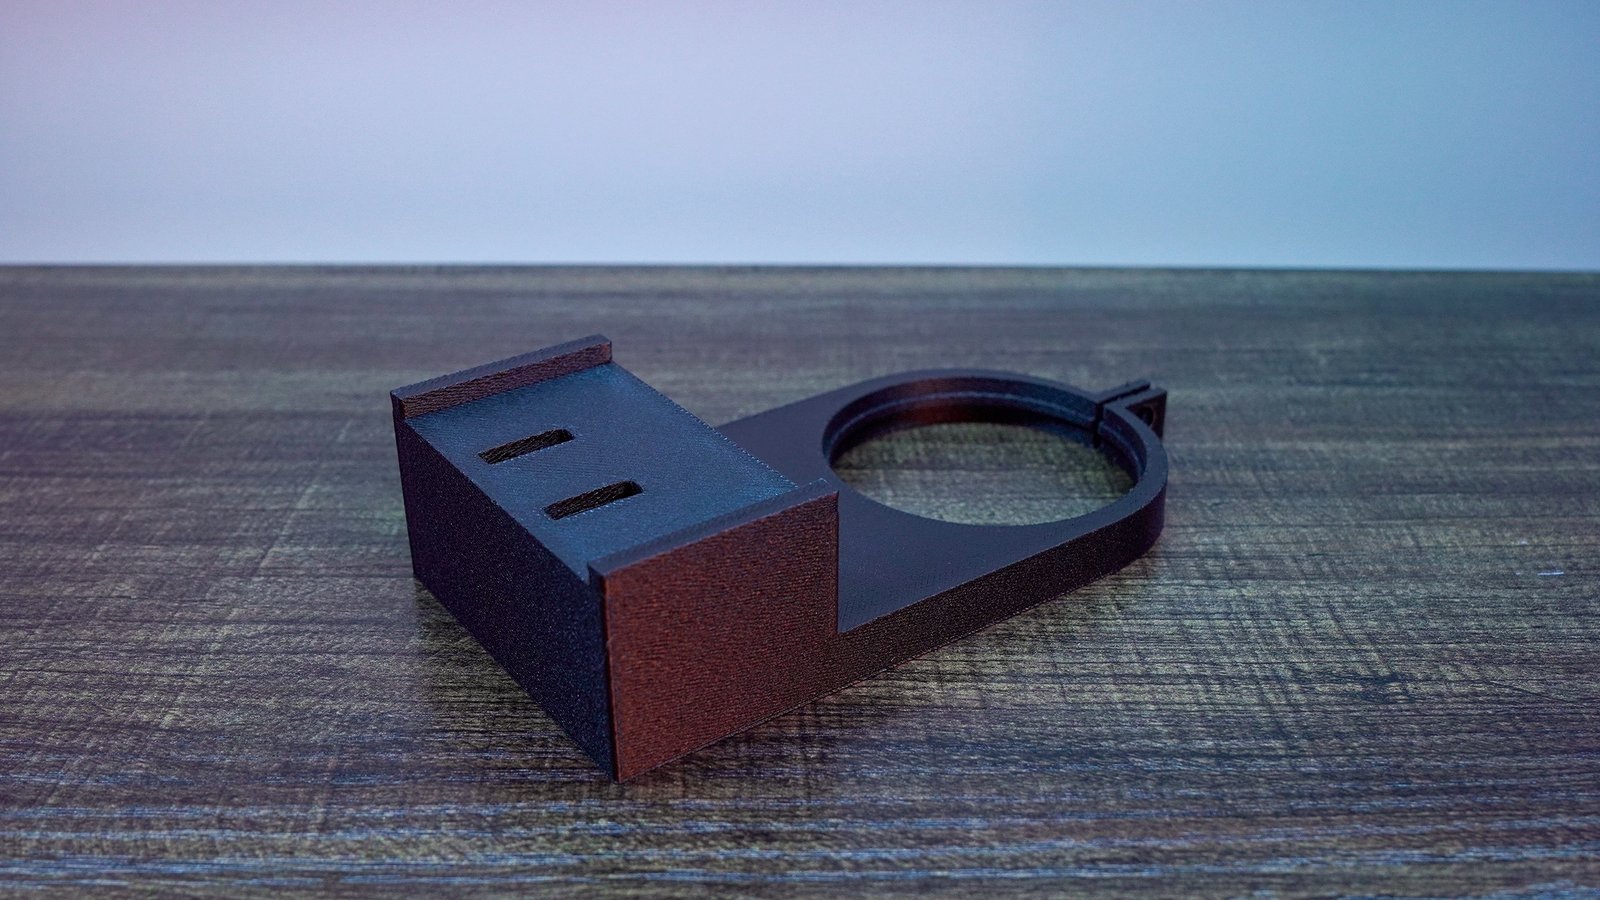
– Custom Fit: Attaches directly to the SV238’s helical focuser for a secure hold.
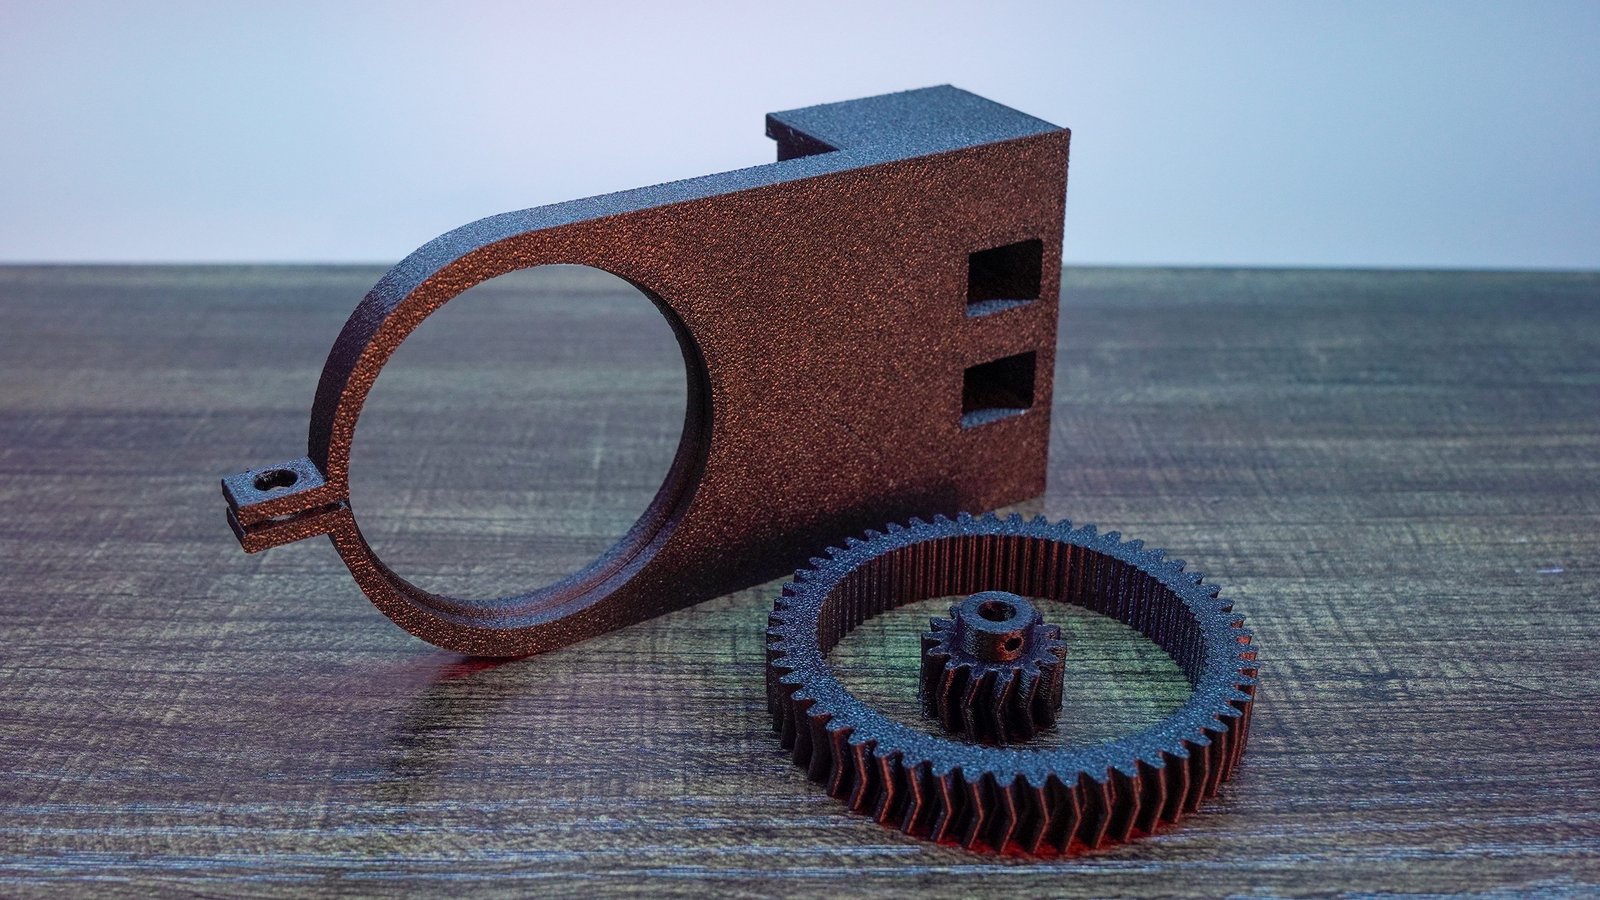
– Three-Part Design: Includes the main body, EAF coupler, and focuser gear for easy assembly.
– Material: Printed in PETG-CF (Carbon Fiber reinforced PETG) for strength, lightweight construction, and resistance to wear in outside environments.
– Affordable Automation: Pairs perfectly with a budget-friendly EAF like the Gemini, keeping your setup cost-effective.
Compatibility and Other Notes:
– Camera Compatibility: This adapter is optimized for cameras with an 80mm diameter body, such as the ToupTek 2600KMA (IMX571 sensor). This version is not compatible with larger 90mm diameter cameras like the ZWO 2600MC Pro at this time. An updated version for 90mm bodies is in development — stay tuned.
– EAF Compatibility: Designed primarily for the Gemini EAF, which is affordable, lightweight, and fits securely. You can mount a ZWO EAF, but note that it may slide slightly on the sides due to its slimmer profile compared to the Gemini. For best results, use the Gemini EAF (affiliate link: ).
– FREE Shipping: No charges on shipping within the U.S.
What’s included in the packaging:
– (3D printed) mounting bracket;
– (3D printed) gear;
– (3D printed) coupler for EAF;
– (stainless steel) one 8-32 x 1/2″ machine scew, one 3/7″ flat washer, one 8-32 hex but
– (stainless steel) two M2 screws
Affiliate Links to OAG and EAF:
– SvBony SV238: https://bit.ly/3NEyCte
– Gemini EAF: https://s.click.aliexpress.com/e/_c2QpcU7D
Installation Guide:
Pro Tip: Watch my YouTube video review of the SV238 OAG for a visual walkthrough:
Follow these steps to install the SV238 OAG Auto-Focus Bracket. Install before mounting the OAG in your imaging train for easiest access.
1. Prepare the OAG: Remove all locking bolts from the SV238’s helical focuser using the included Allen key.
2. Attach the Adapter Body: Slide the main adapter body onto the helical focuser. Slightly expand the mounting ring if needed for a smooth fit, then secure it with the included fastener.
3. Install the Gear: Place the gear on top of the helical focuser—it should align naturally with the adapter body.
4. Add the Coupler: Attach the EAF coupler using the two included M2 screws.
5. Mount the EAF: Secure your Gemini (or compatible) EAF to the adapter using the screws provided in the EAF’s box.
6. Final Check: After installation, test for any looseness in the bracket area. Tighten the OAG’s locking screws as needed. Connect to your software (e.g., via ASCOM drivers) and calibrate.
Additional information
| Made in | U.S.A |
|---|---|
| Material | PETG-CF (Carbon Fiber Reinforced Filament) |
Reviews
There are no reviews yet.